07. Designing your Business Entity
Adding database tables as new temp-tables to the Business Entity
To create a new temp-table based on an existing database table, first select the right database from the “Toolbox” pane. In this screenshot, the toolbox contains three databases called “sports2000”, “icfdb” and “SmartDB”. The toolbox will automatically contain all the tables from all connected databases. If you are missing a database in this list, please make sure that the database is connected when starting the Business Entity Designer.
+
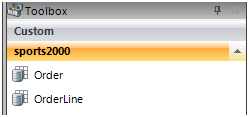
When your database contains a large number of tables, you can filter the Toolbox using the “Database Tables” group in the Ribbon.

In this example, the Toolbox will only contain tables that start with the word “order”:
To add a temp-table based on the database table to the diagram, drag the database table to an empty space on the design canvas.
A new temp-table will be generated containing all the fields and indexes of the database tables and following the naming rules defined in the options.
The temp-table will be using the database table as the only source table – resulting in a DATA-SOURCE sourced by a single buffer in the Data Access object.


In some cases you may have to add the same database table for a second time as a new temp-table. In this case, drag the same database table once more to the design canvas.

As you can see, the tool ensured a unique name for the generated temp-table.
But as the same buffer (for the source database table) can only be used once in a DATA-SOURCE the tool will use a different buffer name for the source buffer:
Adding database tables as additional source tables to an existing temp-table
If you want to add another database table as a source table to an existing temp-table, you can drag a database table from the Toolbox onto the existing database table. You will realize, that the mouse pointer changes it’s shape while moving between the empty space on the design canvas and existing database tables.
When you drop the database table on an existing temp-table, the following prompt will ask for confirmation:
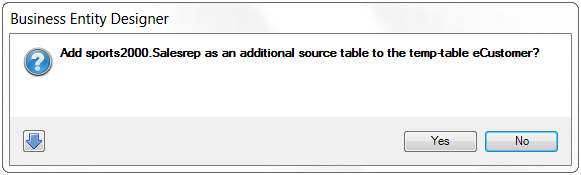
When you choose “Yes” the database table will be used as an additional source table and all fields of the additional table will be added to the temp-table as well. When the additional database table contains fields that already exist in the database table, you’ll be asked if those fields should be added as well using a unique name. Choose “No” to skip fields that already exist.

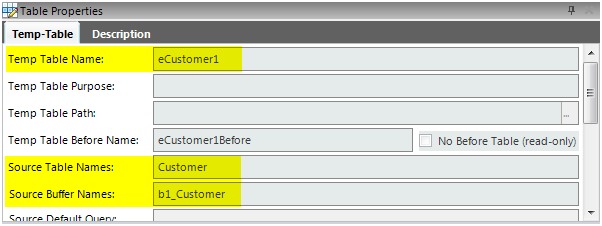
The temp-table source table names and source buffer names will now contain a comma delimited list of the table and buffer names.

The resulting generated code will use a query joining those two tables as the source.
Adding a new temp-table
To add a new temp-table that does not necessary belong to a database table, select the “Custom” group in the Toolbox. There you’ll find the “Table”. Drag this tool to an empty space on the design canvas to define a new temp-table. Use the “Table Properties” pane to change the properties of this temp-table (like the name).
Importing existing temp-tables from source code
You can also import temp-tables that already exist in source code somewhere (legacy code?) to the design. You can do this either by pointing to a file (.i, .p, .w, .cls) that contains the temp-tables or by pasting the relevant source code using the clipboard.
The „Design” group in the Ribbon contains the “Import Table” and “Paste ABL Source Code” tools for this purpose.

To import temp-tables from source code files, choose the “Import Table” tool and point the following dialog to your source code.

In the next step the source code will be parsed for existing temp-table definitions.

You can now select one or multiple temp-table for importing them to the design.
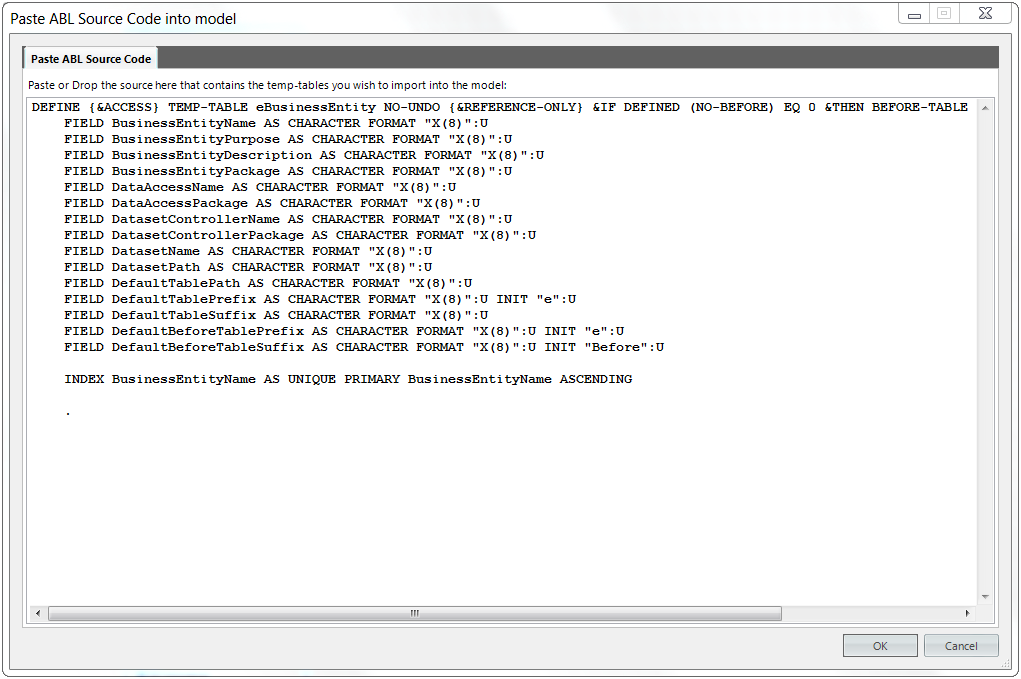
Alternatively you can use the “Paste ABL Source Code” Tool and use copy and paste to have an existing temp-table being parsed and inserted to the design.
Adding additional fields to temp-tables
You can add additional (unbound) fields to any temp-table, no matter if the temp-table is sourced from database tables or not.
To do so, drag the “Field” from the “Custom” section in the Toolbox to any existing temp-table and use the “Field Properties” pane to modify field options like the field name or the data type.
Adding database fields to existing temp-tables
Likewise you can add existing database fields to any temp-table on the design canvas. You can drag those database fields from the “Database Fields” dockable pane once the containing database table is selected in the Toolbox.
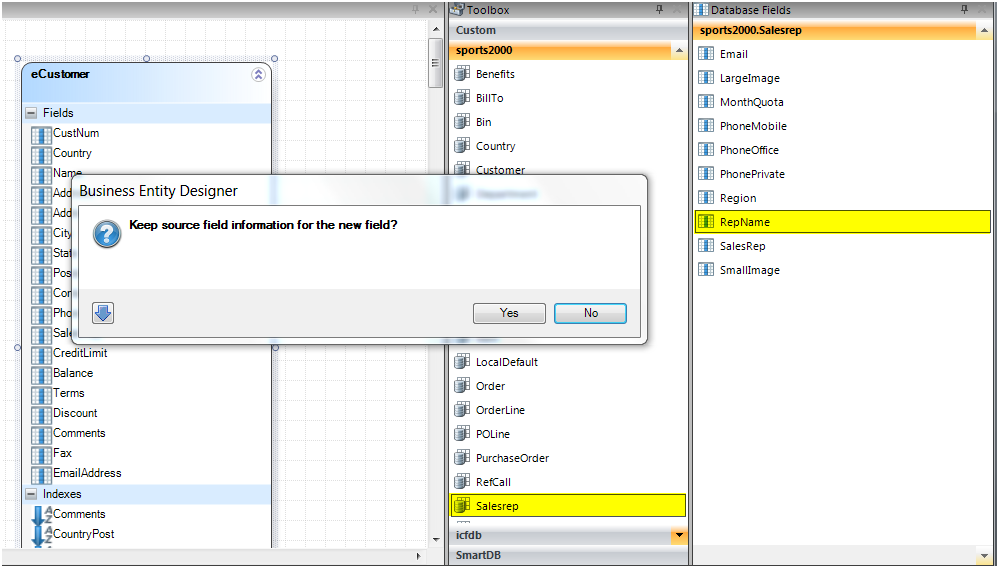
After dragging the field to the target temp-table you’ll get prompted if the source-information of the new field should be kept.
When you choose “Yes”, the temp-table should be using a DATA-SOURCE that can serve fields for the field’s database table. If you choose “No”, the field will be added like a calculated field where the database field was just a template.
Adding additional indexes to temp-tables
In a similar fashion to adding additional fields you can drag the “Index” option from the “Custom” section in the Toolbox to any temp-table on the design canvas and then use the “Index Properties” pane to specify the index name, properties and fields.
Fields are entered as a comma delimited list of the field names in the Index.
Defining data-relations between two temp-tables
To add a data-relation between two temp-tables, select the “Relation” tool from the Design group in the Ribbon.

Then drag from the header of the parent temp-table to the header of the child temp-table.

Modifying the field pairs of a data-relation
When adding a data-relation between two temp-tables, the field pairs that define the relation between the parent and the child temp-table have been “guessed” by the data relation field service used.
You can modify the field pairs in various ways.
In the “Data-Relation” pane you can enter the field pairs directly in the “Relation Fields” text box. Alternatively you can invoke a dialog when you click on the button on the right end of the “Relation Fields” text box.
The same dialog is accessible from the context menu when you right click a relation on the design canvas and select “Relation Fields”.

In the “DATA-RELATION Editor” you can select a field from the parent table and the child table and click the “Join” button. Alternatively you can drag a field from either table to a field on the other table.

To remove a field pair, right click the field pair in the bottom of the dialog and select “Remove”.
Removing a temp-table from the design
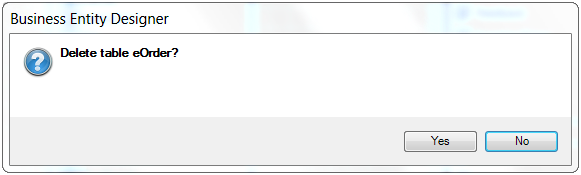
To remove a temp-table from the design, select the temp-table on the design canvas and choose the “Delete” key. You will be prompted if you really want to delete the table.
Removing fields and indexes from a temp-table
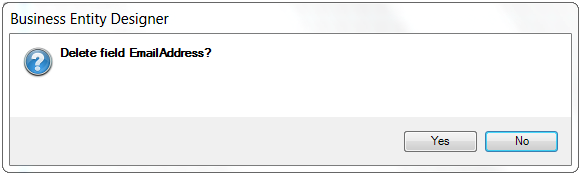
To remove a temp-table field or index from the design, select the field or index from the containing temp-table and choose the “Delete” key. You will be prompted if you really want to delete the field or index.
Removing a data-relation from the diagram
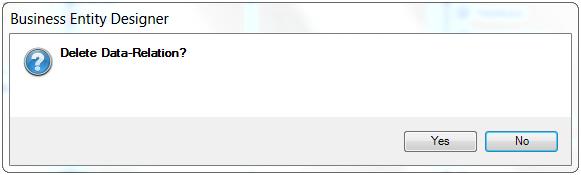
To remove a data-relation from the diagram, select the data-relation on the design canvas and choose “Remove Relation” from the context menu.

You will be prompted if you really want to delete the data-relation.